Solo backpacking is simple on paper: one person, one pack, one trail. In real life, forgetting one small item can wreck a night, like a dead headlamp or a soaked sleeping bag. This packing checklist for solo backpacking gives you a step-by-step order, so the important stuff doesn’t get buried, plus a short copy-friendly list you can reuse. The goal is to stay light, stay safe, and skip classic mistakes like packing too many clothes or “hoping” it won’t rain.
This guide uses an Osprey bag and shows you how to pack it. You can check them out here. The Osprey Stratos 34L Men’s Hiking Backpack, Cetacean Blue
Affiliate Disclosure
Some links on PreTravelCheck are affiliate links. If you buy through them, we may earn a small commission at no extra cost to you. As an Amazon Associate, we earn from qualifying purchases. Thanks for supporting PreTravelCheck.
Before you pack, set your trip rules (weather, nights, and weight)
Your packing list changes with the forecast, how many nights you’re out, and how easy resupply is. A weekend with water sources every few miles feels very different than a dry stretch where you’re hauling liters. Decide if you’ll cook, too, because a stove kit is small but it adds up.
A simple target that helps: pack something you can lift easily, many solo hikers try to stay under about 30 pounds total (including food and water). If you’re going lighter in 2026, plenty of people aim for a 5 to 10 pound base weight, but comfort matters.
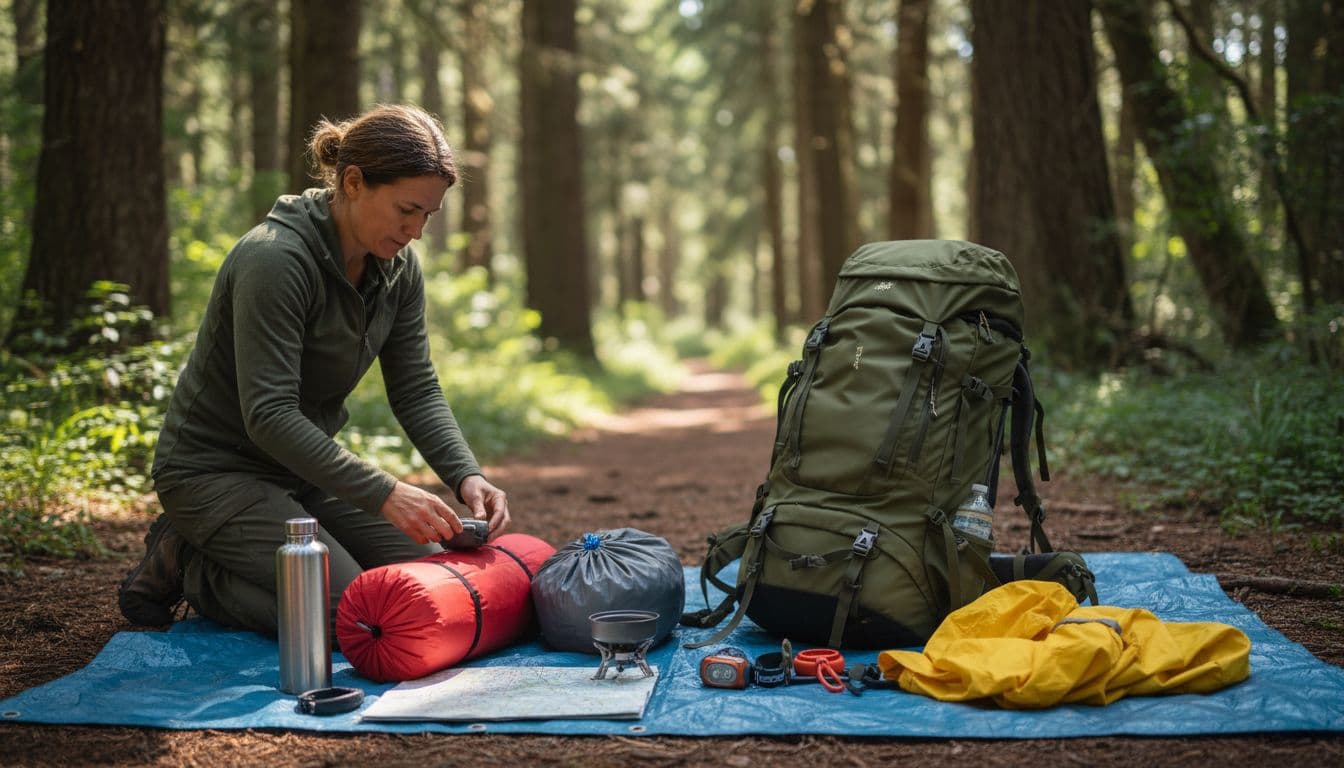
Before you commit, test-pack at home and take a short walk. You’ll feel strap rub, weird pressure points, and loose loads fast. For non-trail essentials (ID, chargers, “did I lock the door?” stuff), keep a separate routine like this: Solo travel gear list to avoid forgetting essentials.
Do a fast reality check: temperature range, rain odds, and water sources
- Overnight low (not the daytime high)
- Wind and rain chance
- Bug season (and if you’ll need a head net)
- Longest dry stretch between reliable water
- Extra layers needed for camp, not hiking
Pick your “style” now: cook kit vs no-cook, tent vs bivy
No-cook can cut weight and fuss, but it can feel bleak after a cold day. Same with a bivy, it’s lighter, but comfort and weather protection can be tighter. Pick what you’ll actually use when you’re tired, not what looks good online.
Step-by-step packing order (so nothing important gets buried)
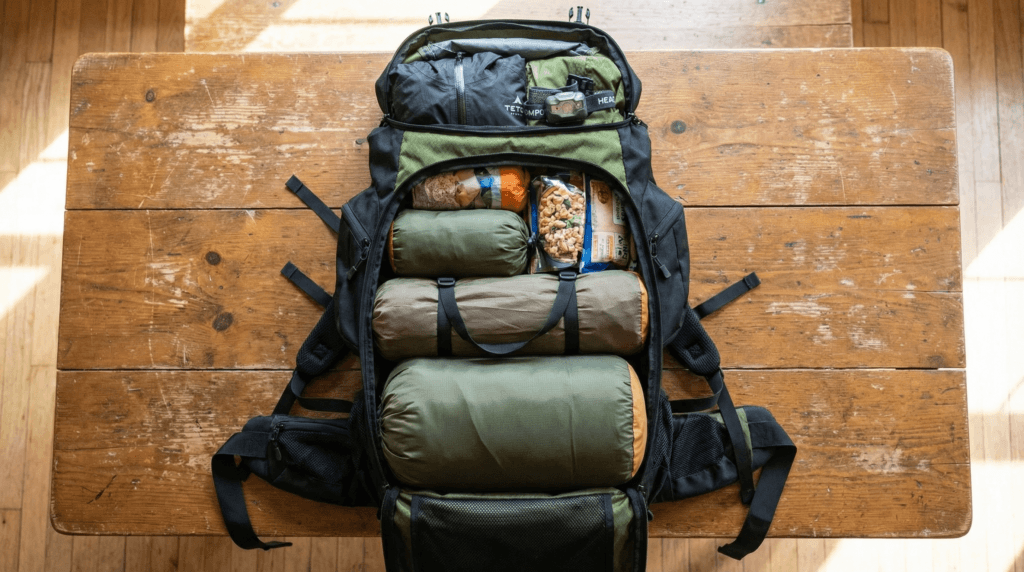
- Line the pack with a pack liner (or use dry bags), rain cover stays accessible.
- Pack sleep system first (dry, compressed, protected).
- Add shelter and the densest items near your spine.
- Build your food and water setup as one “module.”
- Put fast layers and rain gear on top.
- Fill pockets with navigation, light, and small safety items.
Bottom of the pack: sleep system and nighttime warmth
Sleeping bag or quilt goes in a waterproof sack. A dry bag is non-negotiable. Add your sleeping pad, and sleep clothes if you bring them (I sometimes skip them, then regret it at 2 a.m.).
Middle (heaviest items): shelter, food, and water gear
Shelter body, poles, stakes, and guylines go in the core. Add bear can or food bag, stove and fuel (or your no-cook setup), pot and spoon, bottles, and purification (filter or tabs). Keep heavy items close to your back so the pack doesn’t pull you backward.
Top and pockets: layers, rain, navigation, and quick-grab safety
Rain jacket and pants live up top, not buried. Add puffy or fleece, hat and gloves if needed, map and compass or offline GPS, headlamp and spare batteries, sunscreen, bug spray, snacks, and a whistle. You should be able to reach rain gear in under a minute.
Solo safety add-ons that are worth the ounces
When you’re alone, you don’t get easy backups. Share your route, where you’ll park, and a check-in time. If there’s no service, a PLB or satellite messenger is a strong upgrade for remote trips (they’re common now, and the weight is usually a few ounces). Also, take blister care seriously, it’s boring until it’s not.
Your “tell someone” plan, plus one real emergency tool
Give one person your route, when you’ll check in, and when they should worry. Carry one tool that can call for help off-grid (PLB or satellite communicator). It is very easy to lose your way when hiking. Below a video of one of the lucky ones.
Tiny kits that save trips: first-aid, blisters, and quick repairs
- Blister patches or tape
- Tweezers
- Pain meds
- Antihistamine
- Elastic wrap
- Duct tape
- Needle and thread
- Spare buckle
- Lighter and fire starter
Packing Up
Before you zip up, do a last mental pass: dry sleep gear, rain protection, water plan, light and navigation, food for one extra meal, and a way to call for help. Then weigh the pack and pull out duplicates, extra shirts are usually the first to go. The best packing list is the one you can carry all day, without feeling that slow panic rise on mile six.